
HOW MADE LORE WORKS
From your first idea to a finished piece of lore
Create original artwork, choose the right product, personalise every printable surface and approve the final design before we make it to order.
You can begin in three ways: generate artwork with the Universe Creator, upload artwork you already own, or choose an available Made Lore design or editable template.


made to
order

Preview before
you buy
secure
checkout
delivery
options

friendly
support
Your journey at a glance
The exact controls vary by product, but every Made Lore order follows the same basic route.
1. Begin with the idea
Decide who or what the item is for, the world or mood you want, and any names, dates or words it must include.
2. Create or choose artwork
Use Universe Creator, upload your own image, or start from an available Made Lore design or editable template.
3. Choose the product
Select the exact size, colour, finish, set or variation before opening the product editor.
4. Personalise it
Add or select artwork, position it, add text and work through every available side, surface or component.
5. Review and confirm
Check spelling, image quality, safe areas, every surface and the final preview before approval.
6. Basket and checkout
Confirm the correct design is attached to each item, choose delivery and complete secure payment.
7. We make your order
Your personalised product is prepared and made to order. We normally dispatch within 7 to 10 working days. Delivery time begins after dispatch.
8. Dispatch and enjoy
We send a dispatch email and tracking details where applicable. Follow the product care guidance after delivery.
STEP 1
Start with the story you want to tell
A strong result starts with a clear purpose. Think about the person, group, character, place, memory or imagined world the item represents.
- Who is the item for?
- Which mood or universe suits them?
- Which names, dates, titles or short phrases matter?
- Where will the item be used or displayed?
- Does the artwork need to fit one surface, several sides or a complete product set?
Write down the essential details before you begin. This reduces unnecessary revisions and helps you choose the right artwork shape and product.

STEP 2
Create or choose the artwork
Choose one of three ways to start.
Create with the Universe Creator
Describe the artwork you want and let the Universe Creator create an original AI-assisted image for you. Give it useful details such as the subject, setting, mood, colours and anything you want included or avoided.
Review the finished image carefully before using it. AI-generated artwork can sometimes include unexpected details, so check important features, text, symbols and objects.
When you are happy with the artwork, you can use it with eligible Made Lore products and continue into the product editor.
Upload your own artwork
Use a photograph, illustration, map, crest, logo or complete design that you already own or have permission to reproduce.
Use the largest, clearest original file available. PNG is usually best for transparent graphics, while JPG is suitable for photographs and complete rectangular artwork.
Avoid screenshots, social-media downloads and repeatedly compressed files. Enlarging a small file does not restore missing detail.
Choose a design or template
Some products offer a finished Made Lore design or an editable template. The option will only appear if there is a template available for that product.
A finished design prints as shown unless the product page offers a specific personalisation field. An editable template lets you change only the elements made available for editing.
Template availability varies by product. A product will not show a template option when no suitable templates are available.

Help the Universe Creator understand your idea
The more useful detail you give, the easier it is for the Universe Creator to understand what you want. You do not need to write a long prompt — just include the details that matter.
- Subject: the people, creatures, place or object.
- Setting: where the scene takes place.
- Mood: heroic, mysterious, calm, celebratory or dark.
- Composition: square, wide scene, central subject or open text area.
- Colour: the main palette and any colours to avoid.
- Restrictions: no text, no logos, no recognisable franchise styling and no unwanted objects.
Example: Create an original fantasy landscape with an ancient woodland path leading towards a glowing ruined gateway at dusk. Use deep greens, soft gold light and a mysterious but welcoming mood. Wide composition with space around the main subject. No text or logos.

STEP 3
Choose the exact product and options
Open the product page and review the description, dimensions, materials, printable areas, care instructions and estimated production time.
Select the product options you want before opening the product editor. The editor will then show the correct layout for that product and variation:
- size, capacity or shape;
- product colour or finish;
- single-sided or double-sided printing;
- front and back surfaces;
- single item, pair, bundle or multi-piece set;
- finished design, editable template or Upload your own.
The product editor must use the correct product variation. Changing the product after designing may require you to create the layout again.
STEP 4
Build the product in the product editor
The product editor is where the artwork becomes a printable product layout.
- Open the product editor from the selected product page.
- Select the correct side, surface or component where a selector is shown.
- Choose one of your saved or recent artworks, upload your own image, or choose an available template.
- Move, resize, crop or rotate the artwork within the printable area.
- Add and format text where the product supports text personalisation.
- Repeat the process for every required surface or product component.
- Preview the complete product before confirming the design.
For sets and bundles, read the labels carefully. Some products repeat one shared artwork across several pieces, while others allow different artwork for separate components.
A larger screen is easier for detailed layouts, although the editor is designed to work on current mobile and desktop browsers.

Keep important content safe
Keep names, faces, dates, crests and other essential details inside the safe area shown in the editor. Extend backgrounds to the full print boundary where a full-bleed design is required, but do not place critical content on trim lines, seams, handle gaps, sharply curved areas or intentionally unprinted transitions.
The preview is a useful layout guide, not a calibrated colour proof. Your on-screen preview is a guide to layout and placement, not an exact colour proof. Printed colours can look different from a screen, especially very bright, neon or very dark tones.

STEP 5
Review everything before you confirm
Made Lore normally produces the design you approve. Complete this check before adding it to the basket:
- Are all names, dates and words spelt correctly?
- Is the artwork sharp enough at the size shown?
- Are faces and important details inside the safe area?
- Have you checked every side, surface and component?
- Does a repeated set use the intended shared artwork?
- Are backgrounds extended far enough to avoid unintended blank edges?
- Are you happy that you have the right to use any artwork, images, names or other content you have added?
- Have you checked for any accidental text, unexpected AI details or unwanted objects?
Confirm the design only when you are satisfied. Production can begin soon after checkout, so later changes may not be possible.
For your own records, keep a screenshot of the final approved preview.
STEP 6
Check the basket and complete checkout
Before paying, check that the correct product, options, quantity and personalisation are shown.
When ordering several differently personalised items, add each finished design to the basket separately. Increasing the quantity of one basket line normally repeats that same personalised design.
At checkout:
- enter the correct email and delivery address;
- choose an available delivery service;
- review the production and delivery information;
- complete secure payment;
- keep the order confirmation and order number.
You can check out as a guest. Creating an account makes it easier to view your orders, saved artwork and other Made Lore account features.

STEPS 7 AND 8
We make, pack and dispatch your order
Every Made Lore product is made to order using the approved design attached to your order.
Artwork preparation
We use the personalised design attached to your order and prepare the production artwork needed for the product’s printable areas or components.
Made to order
Your product is made to order using the production method appropriate for that item. Production time is separate from delivery time.
Checked and packed
Your finished item is checked, carefully packed and prepared for dispatch.
Dispatch and tracking
We’ll email you when your order is dispatched, usually within 7-10 days. If tracking is available for your delivery service, we’ll include the tracking details.
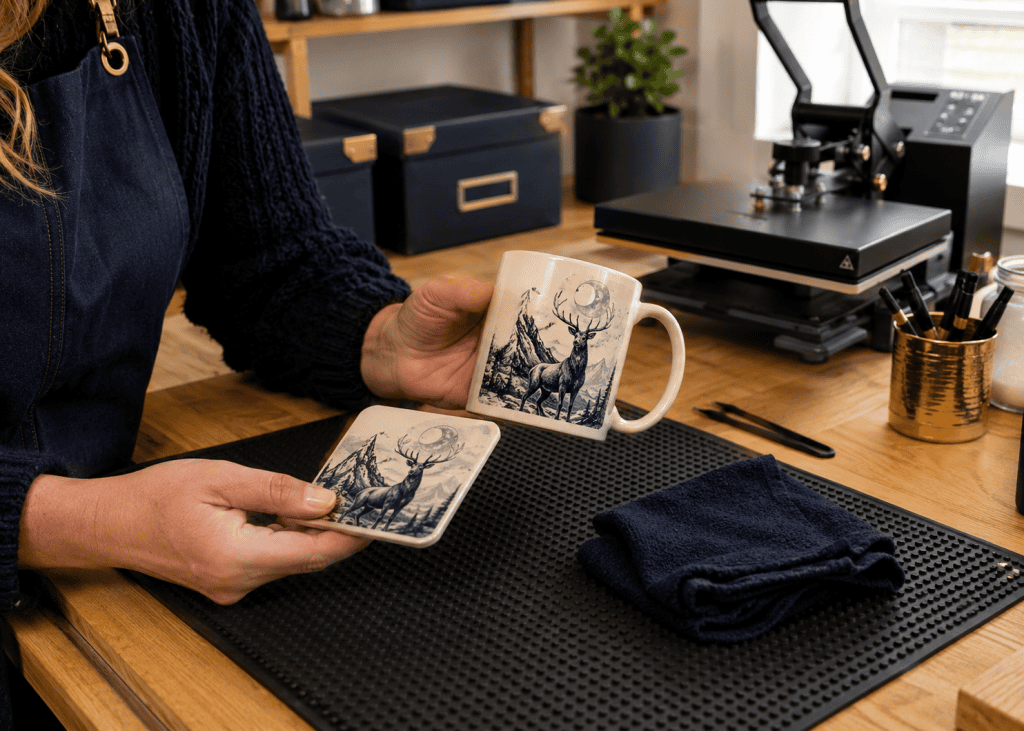

When your order arrives
Open the parcel carefully, inspect the product and follow the care instructions supplied on the product page or with the order.
Care for it properly
Care instructions vary by product. Follow the guidance provided for your item so it stays looking its best.
Report a problem
If anything arrives damaged, faulty or incorrect, contact us as soon as possible with your order number and clear photographs of the item, problem and packaging.
Continue your lore
Reuse your favourite artwork, colours or ideas across compatible products to create a coordinated collection, gift set or continuing story.
Ready to make your lore tangible?
Start with an idea in the Universe Creator, upload artwork you already have, or choose a product and personalise it your way.